Learning how to screenshot on Surface Pro is a valuable skill that can enhance your productivity and simplify sharing visual information. Whether you're capturing important documents, sharing funny memes, or saving precious memories, mastering the art of taking screenshots is essential. With the increasing popularity of Microsoft's Surface Pro, knowing the right techniques can make a significant difference in your daily workflow.
Surface Pro devices are versatile and powerful tools designed to meet the needs of both casual users and professionals. As part of their functionality, they come equipped with various methods for taking screenshots. Understanding these methods ensures you can capture exactly what you need without unnecessary complications.
Regardless of your technical expertise, this guide will walk you through step-by-step instructions to help you learn how to screenshot on Surface Pro. From basic keyboard shortcuts to advanced tools, we’ll cover everything you need to know. Let’s dive in!
Read also:The Enduring Legacy Of A Legendary Actor Jonathan Frid The Man Behind The Vampire
Table of Contents
- Introduction to Surface Pro
- Methods to Take a Screenshot on Surface Pro
- Customizing Screenshot Options
- Editing and Sharing Screenshots
- Troubleshooting Common Issues
- Comparison with Other Devices
- Tips for Effective Screenshotting
- Advantages of Surface Pro Screenshot Features
- Frequently Asked Questions
- Conclusion
Introduction to Surface Pro
The Surface Pro series by Microsoft has become a go-to choice for users who value portability, performance, and versatility. These hybrid devices combine the functionality of a tablet with the power of a laptop, making them ideal for both personal and professional use. One of the key features that enhance user experience is the ability to take screenshots effortlessly.
Knowing how to screenshot on Surface Pro is crucial for several reasons. Whether you're documenting a process, capturing an error message for troubleshooting, or saving a moment from a video call, screenshots provide a quick and efficient way to preserve visual information.
This guide will not only teach you how to take screenshots but also explore additional tools and settings that make the process seamless. By the end of this article, you'll be equipped with all the knowledge needed to master screenshotting on your Surface Pro.
Methods to Take a Screenshot on Surface Pro
Using Keyboard Shortcuts
Keyboard shortcuts are one of the fastest and most convenient ways to take a screenshot on your Surface Pro. Here are the primary methods:
- Windows + Print Screen: This combination captures the entire screen and saves the image in the "Screenshots" folder under "Pictures".
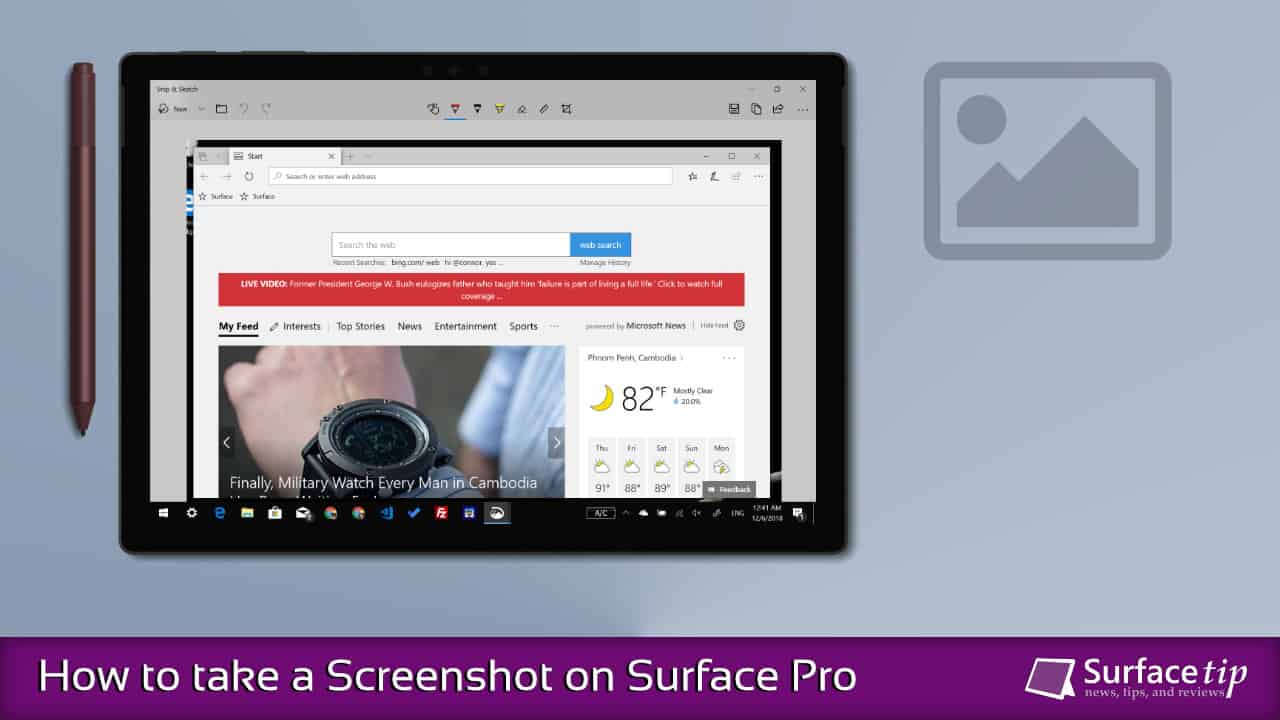
- Windows + Shift + S: Activates the Snip & Sketch tool, allowing you to select a specific area, window, or freeform section to capture.
- Volume Down + Power Button: Ideal for tablet mode, this method captures the screen and saves it in the "Screenshots" folder.
Using these shortcuts can significantly speed up your workflow, especially when you need to capture multiple screenshots in quick succession.
Using the Snipping Tool
For more control over your screenshots, the Snipping Tool is an excellent option. Here's how you can use it:
Read also:Discovering Anya Robbie A Comprehensive Guide To Her Life Career And Influence
- Open the Snipping Tool from the Start menu or search bar.
- Select the type of snip you want (Rectangular, Freeform, Window, or Fullscreen).
- Click "New" to start capturing the desired area.
- Once captured, you can edit the image within the tool or save it directly.
This method is particularly useful when you need precise control over the area you want to capture.
Customizing Screenshot Options
Surface Pro offers several customization options to enhance your screenshot experience. You can adjust settings such as file format, save location, and default tool preferences. To access these settings:
- Go to "Settings"> "System"> "For developers".
- Under "Developer mode", you can enable advanced features that may enhance screenshot functionality.
- For Snip & Sketch, open the tool, click on "Settings", and adjust preferences like delay time and default save format.
Customizing these options ensures that your screenshots meet your specific needs and preferences.
Editing and Sharing Screenshots
Once you've taken a screenshot, you might want to edit or share it. Here are some tips:
- Editing**: Use built-in tools like Paint 3D or third-party software for more advanced editing.
- Sharing**: Attach screenshots to emails, upload them to cloud storage, or share them directly via messaging apps.
For seamless sharing, consider using OneDrive or other cloud services integrated with Windows 10 and 11.
Troubleshooting Common Issues
While taking screenshots is generally straightforward, you might encounter some issues. Here are solutions to common problems:
- Screenshot not saving**: Ensure that your "Screenshots" folder is not full or restricted by permissions.
- Snipping Tool not working**: Restart your device or reinstall the tool if it fails to launch.
- Keyboard shortcuts not functioning**: Check if any third-party applications are interfering with the shortcuts.
If the issue persists, consult Microsoft Support or online forums for additional help.
Comparison with Other Devices
Surface Pro's screenshot capabilities stand out compared to other devices. Unlike smartphones, which often require specific gestures or button combinations, Surface Pro offers versatile options tailored to its hybrid design. The integration of keyboard shortcuts, touch functionality, and advanced tools makes it a superior choice for screenshotting.
Compared to traditional laptops, Surface Pro provides the added advantage of tablet mode, allowing for flexible and intuitive screenshot methods.
Tips for Effective Screenshotting
To maximize your screenshot efficiency, consider these tips:
- Practice using different methods to find what works best for you.
- Organize your screenshots in labeled folders for easy retrieval.
- Use annotations and highlights to draw attention to specific areas.
These strategies will help you streamline your screenshot process and make it more productive.
Advantages of Surface Pro Screenshot Features
The Surface Pro offers several advantages when it comes to screenshotting:
- Versatility**: With multiple methods available, you can choose the one that suits your current setup (laptop or tablet mode).
- Integration**: Seamless integration with Windows tools and applications ensures a smooth experience.
- Customization**: The ability to tailor settings to your preferences enhances usability.
These features make the Surface Pro a top choice for users who frequently rely on screenshots.
Frequently Asked Questions
Q: Can I use third-party apps for screenshots?
A: Absolutely! Many third-party apps offer advanced features like automatic uploads, cloud integration, and enhanced editing tools. Some popular options include Greenshot and Lightshot.
Q: Is there a limit to the number of screenshots I can save?
A: Technically, no. However, storage capacity on your device may impose practical limits. Regularly clean up your "Screenshots" folder to avoid running out of space.
Q: How do I capture a screenshot in tablet mode?
A: Simply press the Volume Down and Power buttons simultaneously. The screenshot will be saved in the "Screenshots" folder.
Conclusion
Learning how to screenshot on Surface Pro is an essential skill that can enhance your productivity and simplify your daily tasks. From basic keyboard shortcuts to advanced tools like Snip & Sketch, the Surface Pro provides a variety of methods to meet your needs.
We encourage you to practice these techniques and explore additional customization options to tailor the experience to your preferences. Don’t forget to organize your screenshots effectively and make use of editing tools to enhance their quality.
Feel free to leave your thoughts or questions in the comments section below. Share this article with others who might find it helpful, and explore more content on our website for further insights into maximizing your Surface Pro's potential.
Data source: Microsoft Support and Windows User Guides