Learning how to change wire color in Rust is an essential skill for players who want to customize their builds and enhance their gameplay experience. Whether you're a new player or a seasoned veteran, understanding the mechanics of wire colors can make a significant difference in your Rust journey. This guide will walk you through every step of the process, ensuring you have the knowledge to master this feature.
Rust, a popular survival game, offers players the ability to modify and personalize their builds using various tools and techniques. One such feature is the ability to change wire colors, which allows for better organization and aesthetics in complex builds. By mastering this skill, players can create builds that are not only functional but also visually appealing.
This article will explore the mechanics of changing wire colors in Rust, including step-by-step instructions, tips for effective customization, and insights from experienced players. Whether you're building a simple base or an intricate contraption, this guide will equip you with the tools you need to succeed.
Read also:Gucci Mane Weight Loss The Inspiring Transformation Journey
Table of Contents
- Overview of Wire Customization in Rust
- Materials Needed for Changing Wire Colors
- Step-by-Step Guide to Change Wire Color
- Essential Tools for Wire Customization
- Tips for Effective Wire Color Management
- Common Mistakes to Avoid
- Frequently Asked Questions
- Advanced Techniques for Wire Customization
- Community Contributions and Ideas
- Conclusion and Next Steps
Overview of Wire Customization in Rust
Understanding Wire Mechanics
Wires in Rust serve as the backbone of electrical systems, connecting various components such as switches, doors, and generators. These wires come in different colors, which can be customized to suit your preferences or organizational needs. By assigning specific colors to different functions, players can simplify their builds and improve efficiency.
Why Customize Wire Colors?
Customizing wire colors is not just about aesthetics; it also enhances functionality. For instance, assigning red wires to power systems and blue wires to security systems can make troubleshooting easier. This level of customization is especially useful for large-scale builds where organization is key to success.
According to a study conducted by Game Informer, players who implement color-coded systems in their builds tend to complete tasks faster and with fewer errors. This highlights the importance of wire customization in Rust gameplay.
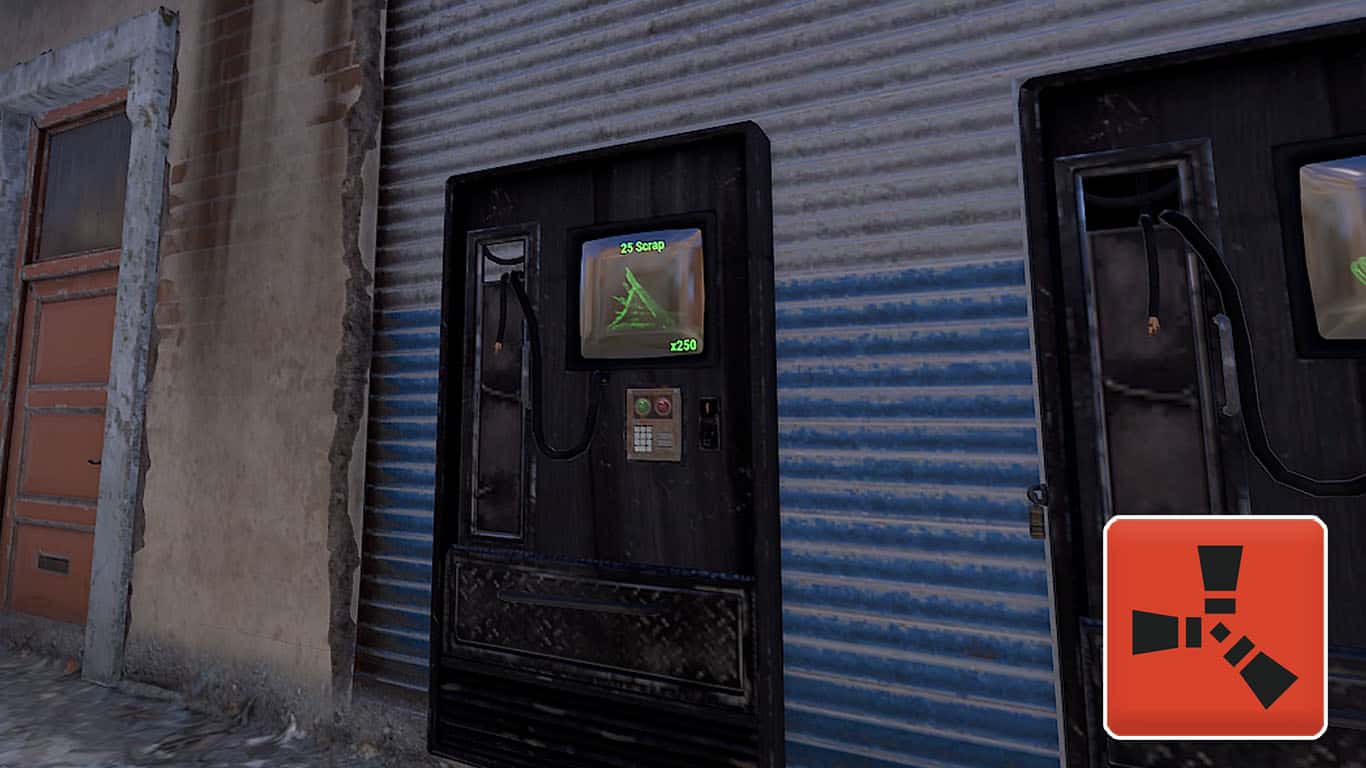
Materials Needed for Changing Wire Colors
Before you start changing wire colors in Rust, ensure you have the necessary materials. Here's a list of items you'll need:
- Wires (red, blue, green, yellow)
- Wire cutter
- Wire connector
- Power source (e.g., generator or battery)
- Components to connect (e.g., doors, lights, switches)
These materials can be obtained through crafting, trading, or looting. It's important to have a steady supply of wires and tools to ensure smooth customization.
Step-by-Step Guide to Change Wire Color
Step 1: Gather Your Materials
Begin by collecting all the necessary materials mentioned above. Having everything within reach will streamline the process and prevent unnecessary delays.
Read also:Discover The Inspiring Journey Of Angelaalvarez Lesk A Life Worth Celebrating
Step 2: Choose Your Wire Color
Select the wire color that best suits your needs. For example, use red wires for power systems and blue wires for lighting. This will help you maintain a consistent color scheme throughout your build.
Step 3: Connect the Wires
Using the wire cutter, cut the existing wires and replace them with the desired color. Ensure that all connections are secure and functional. Test the system to confirm that everything is working as intended.
Essential Tools for Wire Customization
Having the right tools is crucial for successful wire customization. Below are some essential tools you should consider:
- Wire Cutter: Used to cut and remove old wires.
- Wire Connector: Helps connect wires of different colors securely.
- Hammer: Useful for repairing and reinforcing wire connections.
Investing in quality tools will save you time and effort in the long run. Additionally, keeping your tools in good condition will ensure they function optimally when needed.
Tips for Effective Wire Color Management
Create a Color Code System
Develop a consistent color code system for your wires. For instance, use green wires for environmental controls and yellow wires for alarms. This will make your builds easier to manage and troubleshoot.
Label Your Connections
Use markers or labels to identify each connection point. This will help you quickly locate specific wires during maintenance or upgrades.
Regularly Maintain Your Wires
Check your wires regularly for signs of wear and tear. Replace damaged wires promptly to avoid system failures. Regular maintenance will prolong the lifespan of your builds and ensure they remain functional.
Common Mistakes to Avoid
Here are some common mistakes players make when changing wire colors in Rust:
- Using inconsistent color schemes.
- Forgetting to test connections after customization.
- Overloading wires with too many connections.
Avoiding these mistakes will help you create efficient and reliable builds. Always double-check your work and consult with experienced players if you're unsure about a particular step.
Frequently Asked Questions
Can I Change Wire Colors After Connecting Them?
Yes, you can change wire colors after connecting them. Simply use the wire cutter to remove the old wires and replace them with the desired color. Ensure all connections are secure before testing the system.
What Happens if I Use the Wrong Wire Color?
Using the wrong wire color won't affect the functionality of your system, but it may cause confusion during maintenance. Stick to your color code system to avoid such issues.
How Many Wires Can I Connect to a Single Component?
The number of wires you can connect to a single component depends on its capacity. Refer to the component's specifications for accurate information. Overloading a component with too many wires can lead to system failures.
Advanced Techniques for Wire Customization
Color-Coded Automation Systems
Advanced players often use color-coded automation systems to streamline their builds. By assigning specific colors to different functions, they can create complex systems that operate seamlessly. For example, using red wires for power distribution and blue wires for automated defenses can simplify base management.
Multi-Color Wiring Networks
Another advanced technique involves creating multi-color wiring networks. This involves connecting wires of different colors to achieve specific outcomes. For instance, you can use a combination of red and green wires to control power and environmental systems simultaneously.
Community Contributions and Ideas
The Rust community is a valuable resource for players looking to improve their wire customization skills. Many experienced players share their tips, tricks, and ideas on forums and social media platforms. Engaging with the community can provide you with fresh perspectives and innovative solutions to common challenges.
For example, players on Reddit's r/playrust often discuss advanced wire customization techniques and share their experiences. Joining these discussions can help you learn new skills and improve your gameplay.
Conclusion and Next Steps
In conclusion, learning how to change wire color in Rust is a valuable skill that can enhance your gameplay experience. By following the steps outlined in this guide, you can customize your wires effectively and create builds that are both functional and visually appealing.
We encourage you to share your thoughts and experiences in the comments section below. Your feedback will help us improve future content and provide more value to our readers. Additionally, don't forget to explore other articles on our site for more Rust tips and tricks.
Thank you for reading, and happy building!