Remote SSH into Raspberry Pi behind a NAT router from a Mac is one of the most effective ways to access your device securely and efficiently. Whether you're a developer, hobbyist, or tech enthusiast, understanding how to set up and maintain remote SSH access is crucial for managing your Raspberry Pi projects. This guide will walk you through every step, ensuring you have a seamless setup process.
As technology evolves, so does our need for remote access solutions. With more people working from home and managing remote systems, SSH (Secure Shell) has become a staple tool for secure communication between devices. In this article, we'll explore how to configure your Raspberry Pi for remote SSH access, even when it's behind a NAT router, and connect to it using a Mac.
By the end of this guide, you'll be able to confidently set up your Raspberry Pi for remote access, troubleshoot common issues, and optimize your setup for maximum security and efficiency. Let's dive in!
Read also:Exploring Caldwell County Schools A Comprehensive Guide To Education Excellence
Table of Contents
- Introduction to Remote SSH
- Raspberry Pi Overview
- Understanding SSH Basics
- What is a NAT Router?
- Setting Up Raspberry Pi for SSH
- Port Forwarding on NAT Router
- Connecting from Mac
- Enhancing Security
- Troubleshooting Common Issues
- Conclusion and Next Steps
Introduction to Remote SSH
SSH (Secure Shell) is a cryptographic network protocol that allows users to securely connect to a remote computer or server. It provides encrypted communication, ensuring that data transmitted between devices remains private and secure. When you want to remote SSH into Raspberry Pi behind a NAT router on Mac, the process involves several steps, including configuring your Raspberry Pi, setting up port forwarding on your router, and ensuring proper security measures.
Why Use SSH?
SSH offers numerous advantages, including:
- Secure and encrypted communication
- Remote command execution
- File transfer capabilities
- Compatibility with various operating systems
These features make SSH an ideal choice for managing remote systems, especially when working with devices like the Raspberry Pi.
Raspberry Pi Overview
The Raspberry Pi is a versatile single-board computer designed for educational and hobbyist purposes. It supports a wide range of applications, from media centers to home automation systems. To remote SSH into Raspberry Pi behind a NAT router on Mac, you'll need to ensure your device is properly configured and accessible from the internet.
Raspberry Pi Specifications
Here are some key specifications of the Raspberry Pi 4 Model B:
- Processor: Broadcom BCM2711, Quad-core Cortex-A72 (ARM v8) 64-bit SoC @ 1.5GHz
- Memory: 2GB/4GB/8GB LPDDR4-3200 SDRAM
- Storage: MicroSD card slot
- Connectivity: Dual-band 2.4GHz and 5GHz IEEE 802.11ac wireless, Bluetooth 5.0, BLE
Understanding SSH Basics
Before diving into the setup process, it's essential to understand the basics of SSH. SSH uses public-key cryptography to authenticate users and encrypt data. When you remote SSH into Raspberry Pi behind a NAT router on Mac, you're establishing a secure connection between your Mac and the Raspberry Pi, even if the Pi is located behind a firewall or router.
Read also:When Will The Next James Bond Be Announced Everything You Need To Know
Key Components of SSH
- Client: The device you're using to connect (e.g., your Mac)
- Server: The device you're connecting to (e.g., your Raspberry Pi)
- Port: The default SSH port is 22
- Keys: Public and private keys used for authentication
What is a NAT Router?
A NAT (Network Address Translation) router allows multiple devices within a local network to share a single public IP address. This setup is common in home and office networks. However, when you want to remote SSH into Raspberry Pi behind a NAT router on Mac, you'll need to configure port forwarding to allow external access to your Raspberry Pi.
How NAT Works
NAT routers translate private IP addresses used within the local network to a public IP address when communicating with the internet. This translation ensures that devices on the local network can access external resources while maintaining security.
Setting Up Raspberry Pi for SSH
To enable SSH on your Raspberry Pi, follow these steps:
- Boot your Raspberry Pi with the latest version of Raspberry Pi OS.
- Open the terminal and type
sudo raspi-config. - Navigate to "Interfacing Options" and select "SSH".
- Choose "Yes" to enable SSH and then reboot your Raspberry Pi.
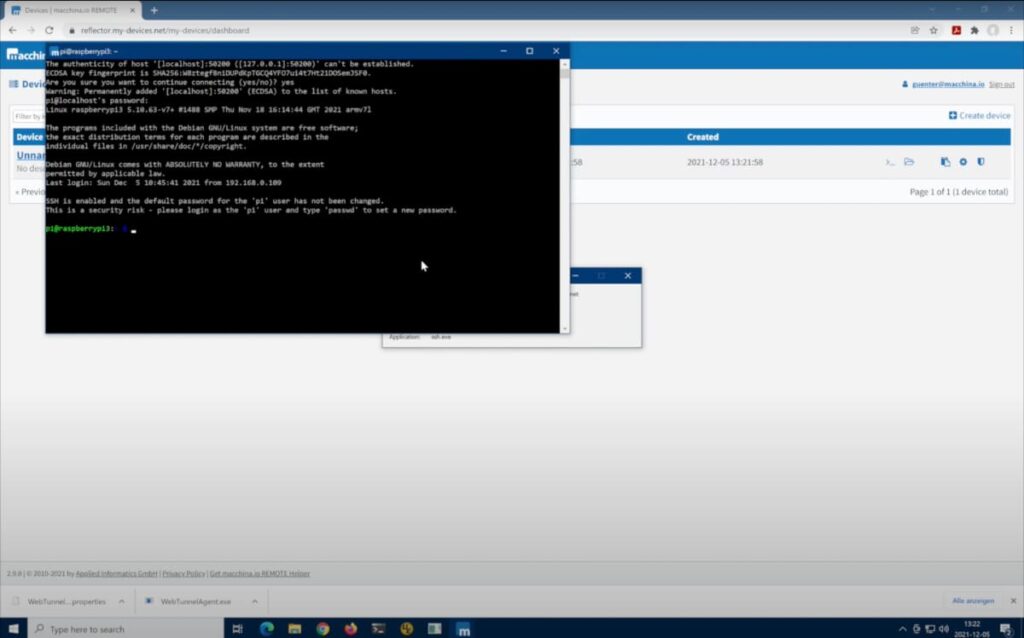
Once SSH is enabled, you can test the connection locally by typing ssh pi@localhost in the terminal.
Assigning a Static IP Address
Assigning a static IP address to your Raspberry Pi ensures that its address doesn't change, making it easier to connect remotely. To set a static IP address:
- Edit the dhcpcd configuration file:
sudo nano /etc/dhcpcd.conf. - Add the following lines, replacing the IP address and gateway with your network's settings:
interface eth0
static ip_address=192.168.1.100/24
static routers=192.168.1.1
static domain_name_servers=192.168.1.1
Port Forwarding on NAT Router
To allow external access to your Raspberry Pi, you'll need to configure port forwarding on your NAT router. This process involves mapping an external port to the internal IP address of your Raspberry Pi.
Steps to Set Up Port Forwarding
- Log in to your router's admin interface (usually via a web browser).
- Locate the port forwarding or virtual server settings.
- Create a new rule, specifying the following:
- Service Type: TCP
- External Port: 22
- Internal IP Address: Your Raspberry Pi's static IP
- Internal Port: 22
Save the settings and restart your router to apply the changes.
Connecting from Mac
Once your Raspberry Pi is configured and port forwarding is set up, you can connect to it from your Mac using the Terminal application. Follow these steps:
- Open Terminal on your Mac.
- Type the following command, replacing the IP address with your router's public IP:
ssh pi@your-public-ip
Enter your Raspberry Pi's password when prompted. You should now have a secure SSH connection to your Raspberry Pi.
Using SSH Keys for Authentication
For added security, you can use SSH keys instead of passwords. To generate an SSH key pair:
- Open Terminal on your Mac and type
ssh-keygen. - Follow the prompts to create a key pair.
- Copy the public key to your Raspberry Pi using
ssh-copy-id pi@your-public-ip.
Now, you can connect without entering a password each time.
Enhancing Security
Security is paramount when setting up remote SSH access. Here are some best practices to enhance the security of your setup:
- Change the default SSH port to a non-standard port (e.g., 2222).
- Disable password authentication and use SSH keys exclusively.
- Limit SSH access to specific IP addresses using firewall rules.
- Regularly update your Raspberry Pi's software to patch vulnerabilities.
Disabling Root Login
To prevent unauthorized access, disable root login by editing the SSH configuration file:
sudo nano /etc/ssh/sshd_config
Find the line PermitRootLogin yes and change it to PermitRootLogin no. Restart the SSH service to apply the changes.
Troubleshooting Common Issues
Even with a well-configured setup, issues can arise. Here are some common problems and their solutions:
- Connection Refused: Ensure that SSH is enabled on your Raspberry Pi and that port forwarding is correctly configured.
- Timeout Errors: Check your router's public IP address and ensure there are no firewall rules blocking the connection.
- Authentication Failed: Verify that you're using the correct username and password or that your SSH key is properly installed.
Testing Your Setup
To test your setup, try connecting to your Raspberry Pi from a different network. This will confirm that your port forwarding and SSH configuration are working correctly.
Conclusion and Next Steps
Remote SSH into Raspberry Pi behind a NAT router on Mac is a powerful tool for managing your devices securely and efficiently. By following the steps outlined in this guide, you can set up a robust and secure connection, ensuring seamless access to your Raspberry Pi from anywhere in the world.
We encourage you to explore further configurations and optimizations to enhance your setup. Don't forget to leave a comment below with your thoughts or questions. Share this article with your fellow tech enthusiasts and check out our other guides for more helpful tips and tricks!
References: